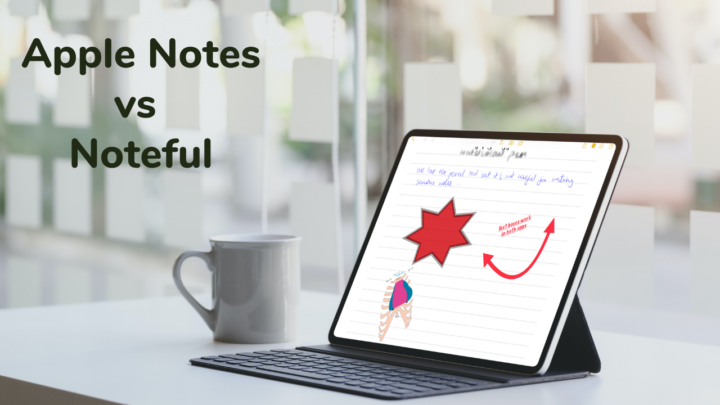
Pages might not be a traditional note-taking app, but it packs plenty of features for an awesome note-taking experience on the iPad. That is, of course, if you don’t mind writing on plain/blank paper. It might actually be better than Apple Notes.
Add web videos
In Pages, you can add Web Videos from YouTube and Vimeo to play them within the app. You can move the embedded video or resize it. Tapping on the video lets you Comment on it. In the app, you can comment on anything, it’s cool that the feature is also available for videos.
Like your images and drawings in the app, you can add Title and Caption to the video. You also can arrange the video. For YouTube videos, you get all the playing options you’d get in the YouTube or web app. It feels familiar, which is awesome. Pages doesn’t support Picture-in-Picture for the video playback, though.
Presenter mode
Presenter mode only works with word-processing documents, it doesn’t work with page layout. It is like the immersive reader you find in OneNote. A mode to focus on what you’re reading, without the distracting user interface of the app. You can:
- Increase the text size
- Choose a background colour
- Change the font type. Compared to the font options you get in Pages, these are very limited.
- Adjust Text Options:
- All Caps
- Line Spacing
- Margins
- Turn on Auto Scroll and choose a speed for it.
Presenter mode doesn’t display text boxes, shapes, tables caption, headers or other objects. That is why it does not work with page layout.
Colour gradient
Gradient gradually blends two colours for your text and objects. It changes from one colour to another, at the angles you choose. To get started, pick your Start and End Colours. Flip Colour to switch their positions and set an Angle. You can Apply Gradient to the entire page.
Image colours
You can also apply colours from an image to your text and play around with different looks:
- Original Size
- Stretch
- Tile
- Scale to Fill
- Scale to Fit
You can add Colour Overlay and pick a Fill colour for it, whose opacity you can adjust. It works better with PNG images. It’s easier to see the fill colour on them.
Instant Alpha
Instant Alpha removes unwanted backgrounds or colours from images to make them transparent. On the image, click the background you want to remove. The app clearly marks the sections you’ve selected. It works better with regular objects because the app doesn’t always select the exact sections you want. When you’re finished removing colours, tap Done to save the changes. Resetting the changes is very simple as well, in case you’ve made a mistake and want to start afresh.
Page thumbnails
Page Thumbnails display all the pages in your document on the left side of your screen. It is helpful for faster navigation and when you’re looking for specific pages in your document. Swipe the left side of your screen (to the right) to quickly bring up the page thumbnails of your document. You can rearrange your pages.
When using the word processor in Pages, tapping on the thumbnail gives you options to Cut, Copy, Delete and Duplicate. Page layout has a few more options for your page thumbnails; Select All, Edit and Page Template. You can edit the page template to:
- Change its Background colour
- Turn on/off:
- Show Header & Footer
- Match Previous Page
- Add items you want appearing on all the pages in your document
- Add pages to your document
Objects and tables
Pages has a lot of objects that you can add to your documents. The app organises them into several categories: Basic, Geometry, Objects, Animals, Nature, Food, Symbols, Education, Arts, Science, People, Places Activities, Transport, Work and Ornaments. You can search for an object to work faster. You can also add 2D, 3D and Interactive colourful graphs.
You can add tables to your documents. Adding or removing rows and columns is very simple, which makes creating tables in the app a breeze. For your tables, you can customise the whole table or its cells. Tables and graphs in Pages are very complex and we’ll cover them some other time. What’s important to note is how much control you have over them. It’s always a huge advantage for any document-creating app.
Page layout
Pages is both a word processing and page layout app. Word processors primarily create text documents, examples of such apps include Microsoft Word and Google Docs. Word processing apps are perfect for simple structured prose documents.
Page layout, on the other hand, gives you a canvas for creating custom designs like posters, books, newsletters, etc. To achieve the custom looks, your text is limited to text boxes. New pages are added manually, unlike with word processors.
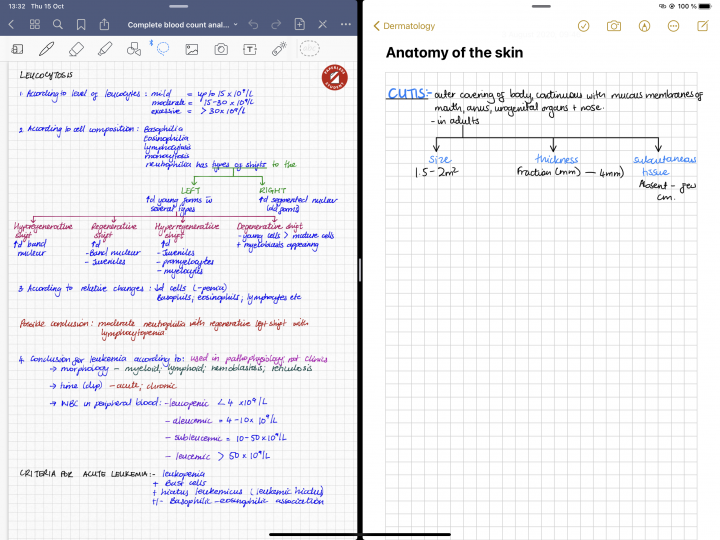
In Pages, Document Setup switches between word processing and page layout. Turning off Document Body turns your document into a page layout, which unlocks a lot of features that are similar to the note-taking style you get in Apple Notes.
When converting a word document to a page layout, your text disappears because page layout only uses text boxes for your text. In this mode, you can move your text and objects much more freely than with a word processor. You have complete control over where you position everything on the canvas/page. You can drag images or text anywhere you want to create custom designs. The possibilities this unlocks are endless.
Add drawings
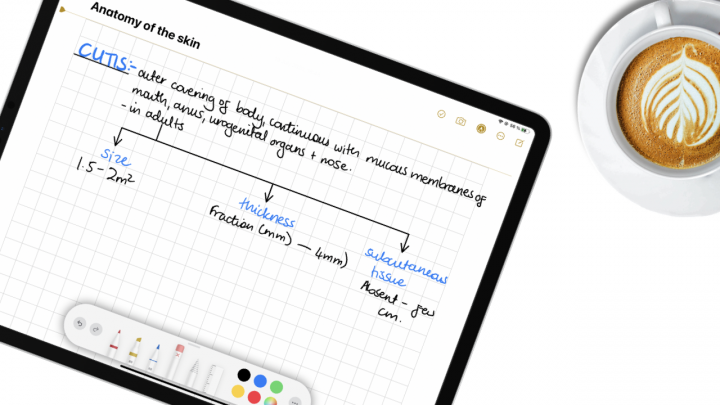
You can add drawings and handwritten notes with your Apple Pencil, in Pages. The app has a pen tool, pencil and crayon to help you with that. You can even draw filled shapes. For each of these tools, you can adjust their opacity. With the lasso tool, you can resize sections, move them around and change their colours. You can also duplicate or separate them.
All the drawings you add this way go into a box, separated from the text on your page. The box behaves as images do in the app. It means you can do the following:
- Move the drawings to the back/front
- Resize: you can choose to Constrain Proportions to keep the aspect ratio of the diagram when you resize it. Turn this option off to either, shrink or stretch your drawing.
- Rotate your image through some fixed angles, or one you choose yourself. You can even enter the degrees if you know them.
- Flip horizontally or vertically
- Move with Text gives you Text Wrap options when you turn it on. Pages has several text wrap options for you:
- Automatic
- Around
- Above and Below
- Inline with Text
- None
- Text Fit: we haven’t quite figured out this one.
- Extra Space: determines the space between your drawing and the text on the page.
- Opacity determines how visible your diagram is; from 0 to 100%.
- Add caption and title: your title can either be at the top or bottom of the drawing. You can also describe your drawing, to make it more accessible. In Pages, you can format them to look how you want.
You also get a cool feature to Animate Drawing to make your document more interesting. Duration sets how long the animation lasts and you can Loop it to keep repeating.
Smart annotation
You can annotate your documents with the highlighter tool. Unlike the other tools, on the toolbar, annotations mix with your annotations the text on the page. The kind of annotation you get with PDF readers. The highlighter tool has two writing tools you can use; a Pen or a Highlighter. You can add comments next to or over your text. The highlighter goes in front of your text, so it helps to lower its opacity. The eraser only erases per stroke, when removing annotations from your documents.
If you’ve been trying to mix your handwriting with text in Apple Notes, try using Pages. With its page layout option, Pages behaves like the note-taking apps we are used to seeing on the iPad. You can Erase All Smart Annotations with a single tap.
Control your Apple Pencil
You can control what your Apple Pencil does, under the three-dots icon. Go to Apple Pencil to turn on Select and scroll. That way you can scroll your documents with your Apple Pencil. When you want to add drawings you go to the plus icon > Drawing. To start annotating your documents, go to the three-dots icon > Smart Annotation. Of course, if you handwrite notes more than you type them, you can switch this off. Or turn on the option to switch with a double-tap if you have the second-generation Apple Pencil.
